
A project work plan turns a project goal into tasks with owners, deadlines, dependencies, and a way to track progress. To create one, define the finished result, break the work into deliverables, assign each task, and review the schedule as the work changes.
You can copy the blank template below, then follow a completed example before adapting the plan to a team or solo project. A useful plan makes it clear what can start now, who owns it, and what a delay would affect.
In brief: Write down the result, tasks, owners, dates, dependencies, and finish conditions. Keep one editable plan current as work moves.
Do You Need a Work Plan or a Task List?
Choose a planning tool by asking what you need to decide. These tools can overlap, and a small project can keep several kinds of planning in one document.
| Planning tool | Use it when | What to put in it |
|---|---|---|
| Project work plan | You need to coordinate delivery | Tasks, owners, dates, dependencies, and status |
| Project plan | The work also needs broader decisions | Scope, budget, governance, communication, and delivery approach |
| Action plan | A defined objective needs a short sequence of actions | Actions and accountable owners |
| Work breakdown structure | Deliverables need dividing into smaller pieces before scheduling | A breakdown of deliverables and work; dates and assignments still need decisions |
| Task list | Independent actions need tracking without handoffs or a shared timeline | Actions and their due dates or status |
Use a work plan when one missed task can hold up another, or when people need clear ownership. For example, if testing cannot begin until someone finishes building a form, record that dependency and both owners. If the project also needs decisions about scope, budget, and communication, put those in the same document rather than maintaining separate files by default.
Choose a Format You Can Keep Updated
Choose one editable source of truth before filling in the plan. The best format is the one you can keep current when dates, owners, and dependencies change. Copy the template below into a document or spreadsheet you already maintain.
A work plan in Word or another simple document suits a short project with explanatory notes and a compact task table. If you need to sort tasks often or change dependencies, keeping the table organized may take more manual work.
Excel works well for task rows, filtering, dates, and status updates. Give scope notes and project decisions a clear home alongside the spreadsheet so they do not disappear from view.
A work plan PDF can serve as a dated approval or handoff copy. Keep the editable original as the source of truth, and label the PDF with its export date so everyone knows where updates belong.
A Gantt chart can help when overlapping tasks and dependencies are hard to follow in rows. Add one when it answers a scheduling question; a small project may be easier to manage with a table.
Define the Result and Project Scope
A work plan connects what gets done and when to the project's goals and objectives. Before scheduling, write down the project objective, tangible deliverables, acceptance criteria, in-scope work, and out-of-scope work.
Say your project is to publish a reusable project request form and a short instruction page by June 14. The form is accepted when it contains five required fields and three test submissions reach the intended destination. The instruction page must explain how to submit a request.
The scope is one form and one instruction page. A historical data migration and a wider website redesign are outside it. Treat reviewer availability as an assumption to confirm. The June 14 launch commitment and the spending cap are constraints to plan around.
Useful plans turn broad intentions into small decisions. “Improve intake” does not say what needs to exist before launch; the form, its five fields, successful test submissions, and instructions do. If your starting point is still a broad ambition, use the goal setting plan to define an outcome before scheduling the project.
Copy This Project Work Plan Template
Copy this template into the document or spreadsheet you chose. Fill in the brief first, then list the work needed to produce each deliverable.
Project: [ ]
Objective: [ ]
Deliverables and acceptance criteria: [ ]
In scope: [ ]
Out of scope: [ ]
Project owner: [ ]
Start date: [ ]
Target finish: [ ]
Milestones: [ ]
Available work time: [ ]
Budget cap: [ ]
Assumptions: [ ]
Constraints: [ ]
Last updated: [ ]
| ID | Task or deliverable | Owner | Start | Due | Depends on | Status | Done when |
|---|---|---|---|---|---|---|---|
| [ ] | [ ] | [ ] | [ ] | [ ] | [ ] | Not started | [ ] |
Risk or assumption: [ ] / Trigger: [ ] / Response: [ ] / Owner: [ ]
Decision needed: [ ] / Decision owner: [ ] / Needed by: [ ]
This compact risk register records what might disrupt the work, what would signal trouble, and what to do about it. Give each task one accountable owner. Name contributors in notes when needed. The project owner maintains the overall plan and resolves trade-offs.
Use Not started, In progress, Blocked, and Done as status choices. For blocked work, record the reason and next action beside it. Use task IDs in “Depends on,” so prerequisites are easy to trace. Write the acceptance check in “Done when” rather than guessing a percentage complete. A project plan can name tasks, milestones, target dates, and responsible people.
Add estimated effort or allocated resources when they affect whether the work is feasible. Each field should help you make a decision.
Break the Project Into Tasks and Milestones
Build the schedule from the deliverables, not from a guess about how busy the project will be. Breaking objectives into smaller tasks with individual deadlines can make the work more manageable.
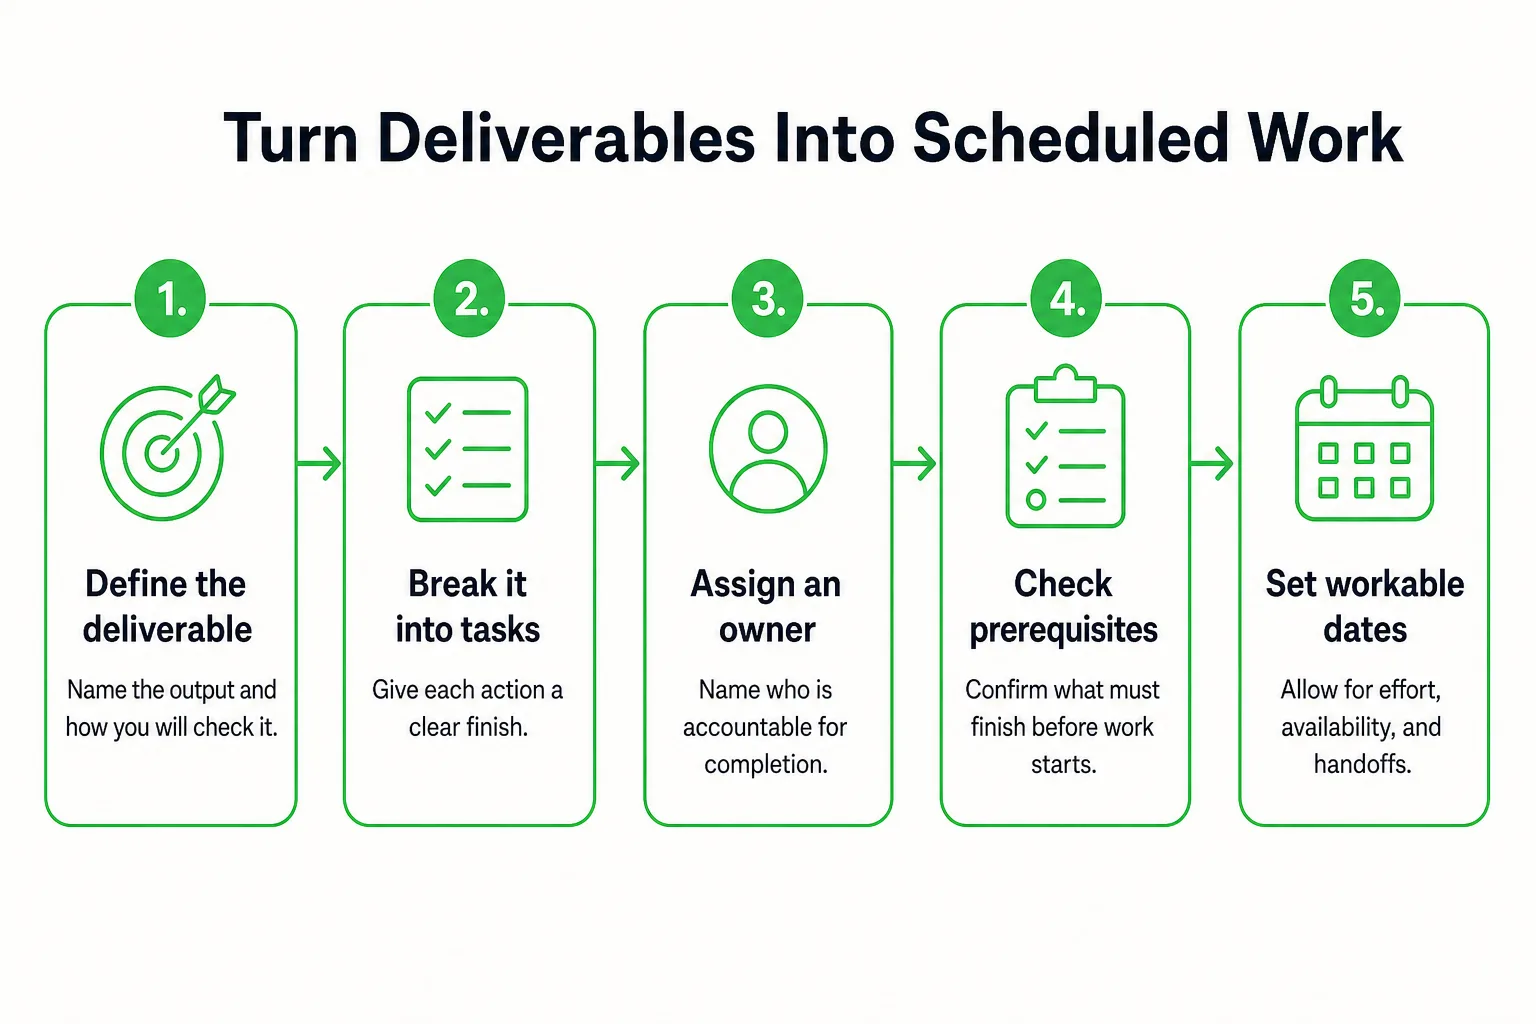
- List each deliverable and the check that will show it is finished.
- Break each deliverable into actions with a clear, checkable finish.
- Assign one accountable owner to each task.
- Identify prerequisites and record their task IDs.
- Set dates after checking dependencies and each owner's availability.
Here is the filled-in plan for the request form project. The snapshot date is June 7. The June 6 approval and June 14 publication are milestones: dated points to reach, not extra tasks with their own duration.
| ID | Task or deliverable | Owner | Start | Due | Depends on | Status | Done when |
|---|---|---|---|---|---|---|---|
| T1 | Confirm required fields | You | June 3 | June 3 | None | Done | Five required fields agreed |
| T2 | Draft form and instructions | You | June 4 | June 5 | T1 | Done | Draft ready for review |
| T3 | Approve draft | Approver | June 6 | June 6 | T2 | Done | Approval recorded |
| T4 | Build the form | You | June 7 | June 10 | T3 | In progress | Approved fields implemented |
| T5 | Test submissions | Tester | June 11 | June 11 | T4 | Not started | Three submissions reach the destination |
| T6 | Fix issues and finalize instructions | You | June 12 | June 12 | T5 | Not started | Test issues resolved and instructions ready |
| T7 | Publish form and instructions | You | June 14 | June 14 | T6 | Not started | Both available to the intended team |
Plan for 10 hours of your own work across the project. Reserve the approver's June 6 review window and the tester's June 11 window, and confirm access to the form-building tool before construction begins. These dates cover elapsed calendar time; the 10 hours are hands-on effort. A task's start date must also fit its owner's availability and follow its prerequisites.
Schedule handoff windows in advance so both sides can prepare. Before the review window, attach the draft and the acceptance criteria, so the approver knows what to check.
Pull Ready Tasks Into Today's Work
A ready task has completed prerequisites, available resources, and an owner who can act. A task that is due soon may still be blocked by an approval, missing access, or another unfinished step.
On June 7, T4 is ready: T3 is approved, and you can begin building the form. Reserve a 45-minute block to create the five required fields. Set the stopping point as saving a working draft, so the session has a clear finish.
Reserve the next ready task in the time blocking planner so its planned effort has a place in your day. If project work has to fit beside other responsibilities, use the 1-3-5 task planner to choose a smaller daily workload.
Keep approval and testing in the project timeline rather than copying them into today's list. If you do not have access to the form-building tool, make requesting access your next action and mark construction as Blocked. At the end of the work block, update T4's status, record what remains, and identify the next action. The daily list carries work you can execute now; the project timeline retains future commitments.
Update the Plan When Something Changes
When something changes, work through the effects before revising dates. That keeps a new commitment from quietly colliding with dependent work.
- Record what changed. Note the missed deadline, new priority, unavailable owner, or added task. For late work, record what remains and the new estimate before changing dates. Keep the original commitment in a note so the reason for the change stays visible.
- Identify affected dependencies. Check which tasks rely on the changed work, along with the owners, resource windows, and milestones involved. If T4 finishes June 12 instead of June 10, T5 testing cannot happen on June 11. Move testing to June 13 and check the remaining path to publication.
- Choose a trade-off. To retain the June 14 launch in this example, confirm that there is capacity for fixes and publication on June 14 before committing to that date. If there is not, revise the launch date. A changed priority also needs an explicit choice: pause or remove the displaced task, and tell its owner. Keep one current order of work instead of creating a second urgent list.
- Confirm with affected owners. If someone is unavailable, decide whether to reassign, reschedule, or reduce scope. Before assigning a replacement, confirm that they have the access, context, and capacity to do the work. For a new task, name the deliverable it supports, estimate its effort, add its dependencies, and identify the commitment that moves. If nothing moves, identify the capacity that can absorb it.
- Update the plan and next actions. Revise owner, start date, due date, dependencies, status, risk response, and decision note as needed. Then tell the people affected what changed and what needs their confirmation. For example: “The build now finishes June 12. Testing moves to June 13. Please confirm whether fixes and publication fit June 14.”
Review Daily, Weekly, and at Project Close
Keep the plan useful through regular review and revision. The daily and weekly checks below are practical ways to catch changes while there is still time to respond.
Daily: Check What Can Move
Inspect ready tasks, overdue work, blockers, and handoffs due today. Update status and next action, and record dates that have been confirmed. If a task is blocked, note the reason and what must happen next to unblock it.
Weekly: Check the Next Commitments
Compare completed deliverables with upcoming milestones. Check each owner's capacity and whether needed resources are available. Revisit assumptions and risks, then decide whether scope, dates, or assignments need to change.
Track progress through tasks with clear finish criteria and deliverables that have been accepted. If you report a task count, label it as tasks completed. A count does not show that every task took the same effort or had the same impact.
At Project Close: Check the Result
Compare the finished work with the original acceptance criteria. Record the actual finish date and spending, where relevant, and hand over the deliverables. Decide whether unfinished items should be dropped or made into a separate project.
For work that spans a year, keep a closeout note for each project. Use those notes in a broader review rather than stretching one task table into a year-long backlog. When you review the year, bring those closeout notes to the annual progress review to compare commitments with finished work.
How to Adapt the Work Plan for a Solo Project
For a solo project, reduce the plan to the fields that help you act: deliverable, next task, due date, dependency, status, and done condition. The owner is you, so there is no need to repeat that field in every row.

Say you want to complete an online course by December 15. The finite deliverable is finishing the required modules and final assignment. Studying on Tuesday and Thursday is a recurring action that helps you complete it, not the deliverable itself.
| Deliverable | Next task | Due date | Dependency | Status | Done condition |
|---|---|---|---|---|---|
| Required modules and final assignment completed | Complete the next required module | [Date] | [Earlier module, if any] | Not started | Module marked complete in the course |
Connect the time scales without making competing plans. The yearly target identifies the finish. Your current planning period names the next deliverable, the week reserves study sessions you can actually use, and the day contains the next ready action. The 12 Week Year planner can help map the next portion of a long project into weekly commitments. Use the 100 day project tracker to record repeated work sessions while keeping deliverable completion in this work plan.
If you miss a session, check whether it affects the next milestone. Then reschedule, reduce the session's scope, or move the milestone. Update the project plan rather than filling tomorrow with every missed action. Schedule your next ready task: completing the next required course module.